0.前言
在写前端文件的 时候,经常能用到一些标签(元素)的属性,比如img标签,在angualr中有自己的一套绑定标签属性的方法。这篇文章简单介绍一下。
1.属性绑定方法
根据我们前面的文章介绍,绑定一个标签的属性的方法一共有三种,如下图:
{{expression}}
[target]="expression"
bind-target="expression"
我们用img标签进行一下简单实验。HTML所有标签大全及属性可以参考
img标签常用的属性有src和alt
<img src="" alt="">我们从网上找到一张图片,使用上面的第一种方式。
方式一代码如下
import { Component, OnInit } from '@angular/core';
@Component({
  selector: 'app-menu',
  // templateUrl: './menu.component.html',
  // styleUrls: ['./menu.component.scss']
  template: `
     <img src="{{imgsrc}}" alt="{{imgalt}}">
   `,
})
export class MenuComponent implements OnInit {
  imgsrc="https://nimg.ws.126.net/?url=http%3A%2F%2Fimg4.cache.netease.com%2Fgame%2F2010%2F8%2F23%2F2010082314080483355.jpg&thumbnail=660x2147483647&quality=80&type=jpg"
  imgalt="测试图像"
  constructor() {

  }
  ngOnInit(): void {

  }
}
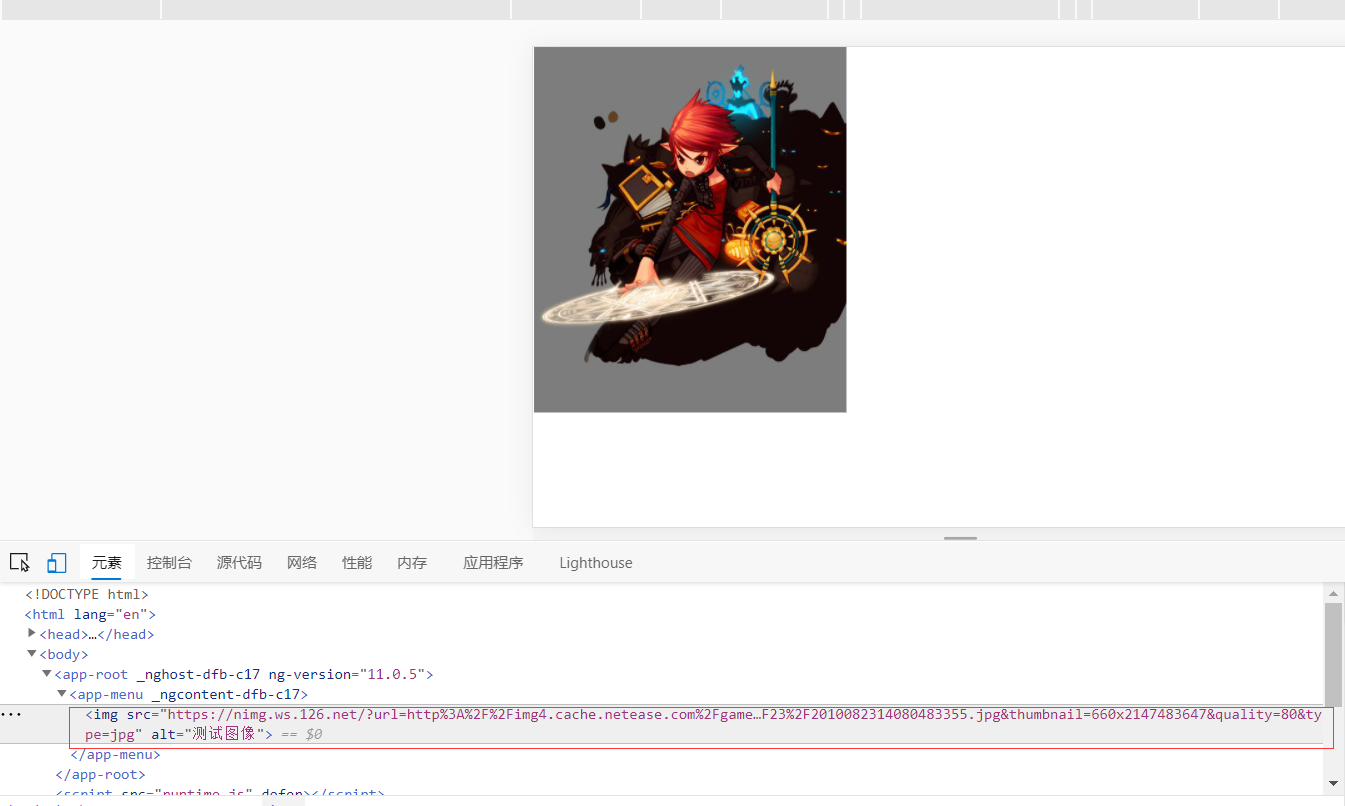
运行效果如下:
方式二:
import { Component, OnInit } from '@angular/core';
@Component({
  selector: 'app-menu',
  // templateUrl: './menu.component.html',
  // styleUrls: ['./menu.component.scss']
  template: `
     <img [src]="imgsrc" [alt]="imgalt">
   `,
})
export class MenuComponent implements OnInit {
  imgsrc="https://nimg.ws.126.net/?url=http%3A%2F%2Fimg4.cache.netease.com%2Fgame%2F2010%2F8%2F23%2F2010082314080483355.jpg&thumbnail=660x2147483647&quality=80&type=jpg"
  imgalt="测试图像"
  constructor() {

  }
  ngOnInit(): void {

  }
}
方式三:
import { Component, OnInit } from '@angular/core';
@Component({
  selector: 'app-menu',
  // templateUrl: './menu.component.html',
  // styleUrls: ['./menu.component.scss']
  template: `
     <img bind-src="imgsrc" bind-alt="imgalt">
   `,
})
export class MenuComponent implements OnInit {
  imgsrc="https://nimg.ws.126.net/?url=http%3A%2F%2Fimg4.cache.netease.com%2Fgame%2F2010%2F8%2F23%2F2010082314080483355.jpg&thumbnail=660x2147483647&quality=80&type=jpg"
  imgalt="测试图像"
  constructor() {

  }
  ngOnInit(): void {

  }
}